Introduction to Wind-Relieving Pose

This yoga pose is recommended for practitioners at all levels and will serve as a great preparatory pose for any yoga practice. It’s a lovely way to warm up the hips and increase circulation to the lower body.
For people working with or recovering from low back and/or hip injuries, Wind-Relieving Pose provides a gentle way to safely explore range-of-motion in the hips and loosen up the low back.
Wind-Relieving Pose is a wonderful asana to integrate movement with breath, right from the start of yoga class. Moving from the two-legged to the slightly more engaging one-legged version provides a nice progression to prepare for standing postures, such as a Warrior sequence, and balance poses.
How to do Wind-Relieving Pose
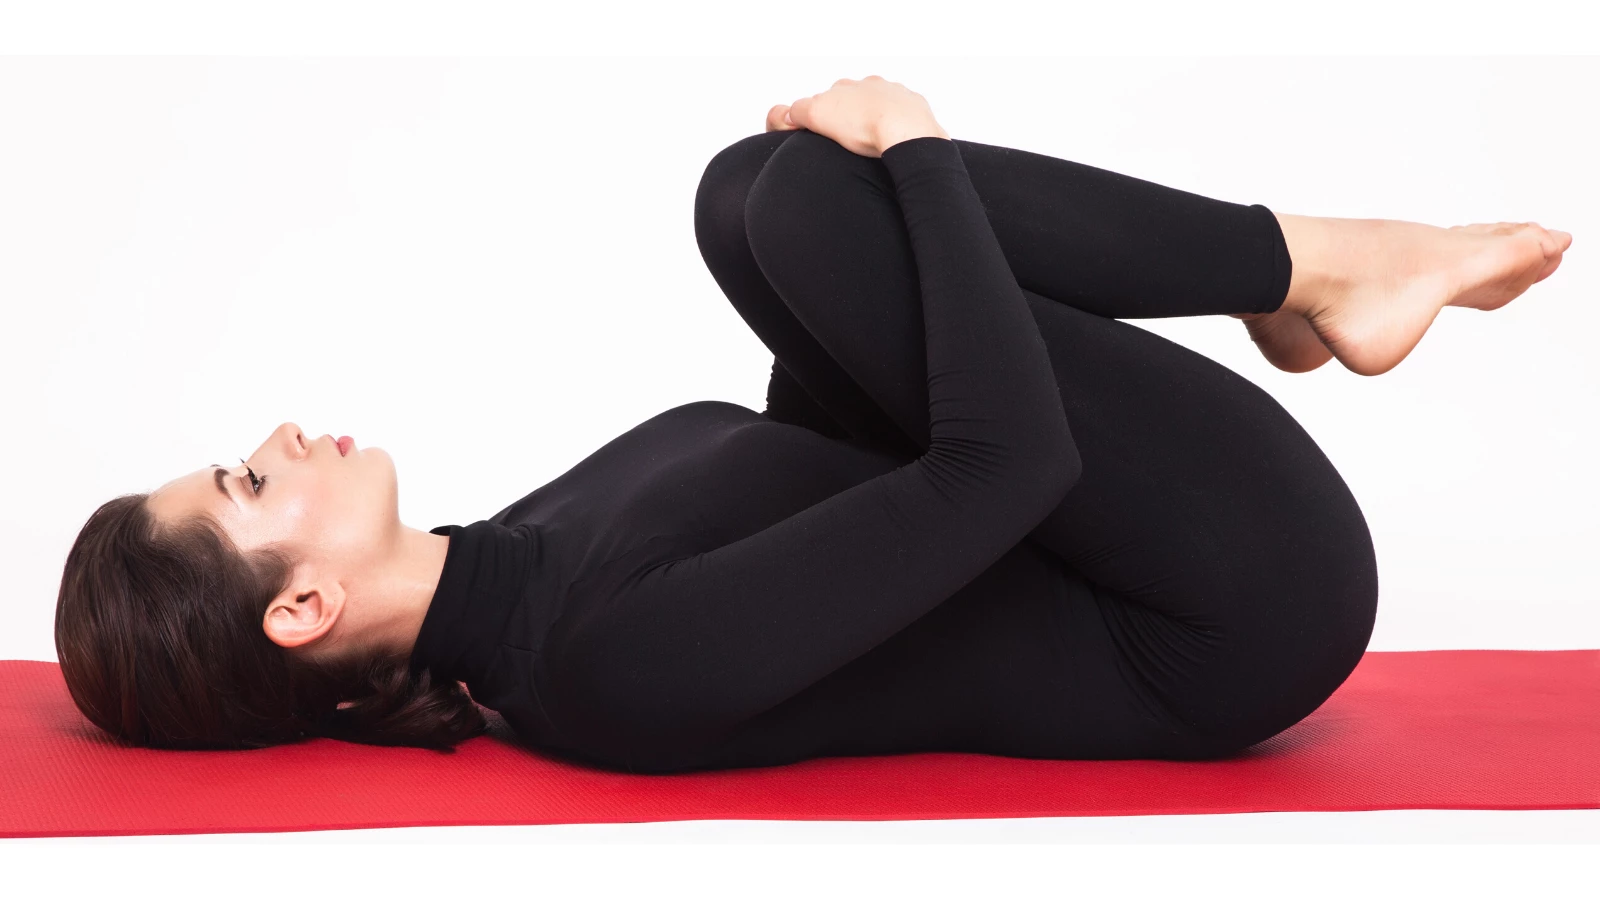
- Lie on your back in a relaxed position.
- Draw your knees toward you, bending at the hips.
- Gently clasp your hands around your knees without pushing them together. They should remain hips-distance apart. On an exhalation, relax your low back into the floor and draw your thighs toward your abdomen without force.
- On the next inhalation, relax your arms to straighten them a bit, and return your knees to the starting position.
- Repeat several times.
- To increase the calming action of Wind-Relieving Pose, gradually lengthen your exhalation on progressive breath cycles.
- Finish by practicing some knee circles to loosen your hips and low back, and prepare for your asana practice.
How to do Half Wind-Relieving Pose

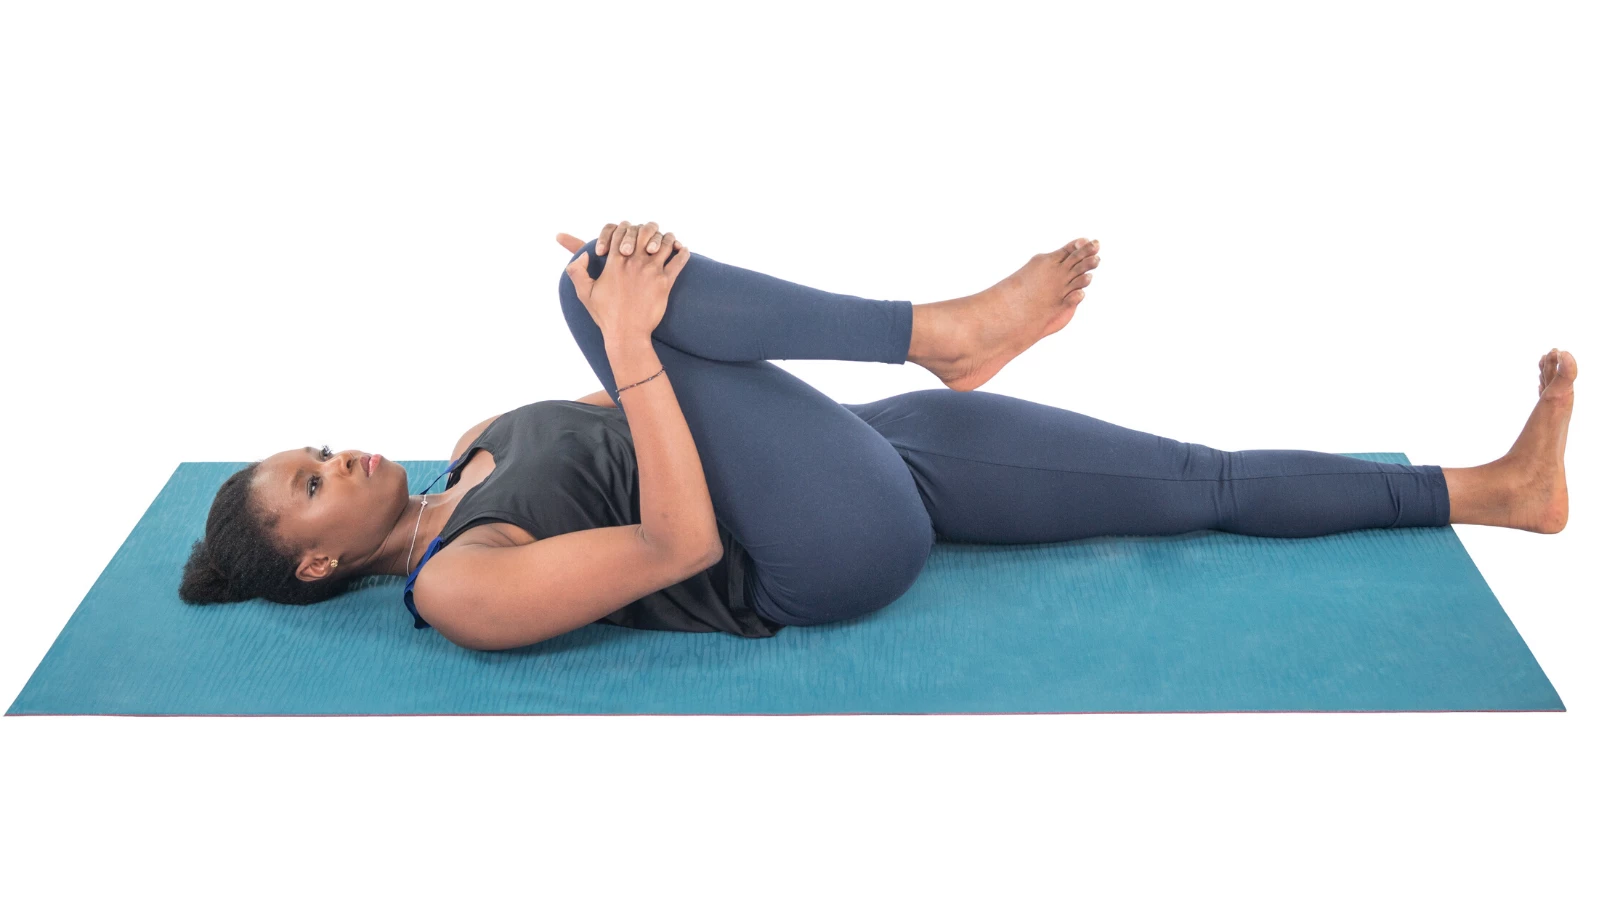
- Lie on your back in a relaxed position.
- Draw your right knee towards you, bending at the hip.
- Gently clasp your hands around the right knee, or around the back of your right thigh. On an exhalation, draw your thigh toward your abdomen without forcing it. Make sure to draw your leg straight toward you without rotating your lower leg at the knee.
- At the same time, press your left thigh gently towards the floor, flexing your left ankle. On the next inhalation release any holding and let your legs relax.
- Repeat the process of coming into and out of the pose as described above 3-4 times, then hold the shape for 4-6 breaths or longer.
- Repeat on the other side.
- Keep your lower back and hips in contact with the floor to maintain a neutral lower back. If you experience discomfort in your low back or have trouble keeping it on the floor, bend your left knee and place your left foot flat on the floor for the first few repetitions in order to keep your pelvis stable.
Practice Tips
Make sure you don’t torque your knee. The goal of the yoga pose is not to bring the knee to the chest, but rather to loosen up the low back, so you don’t strain your back. Listen to your body’s cues and don’t attempt to pull your knee to your armpit.
If you have tight hip flexors (psoas muscle in particular), there will be a tendency for the outstretched thigh to float off the floor in the one-legged yoga posture. To counteract this, press the outstretched thigh gently toward the floor to add a gentle psoas stretch.
Recommended Use
Both versions of this asana provide a great general warm-up and will prepare the body well for all types of yoga work. Practicing supine work at the beginning of a yoga practice also provides a gravity-free way to center into the sensations of the body and breath.
Any version of Wind-Relieving Pose can create an easy transition from the workday into a focused yoga practice.


