HOW TO PRACTICE Monkey Pose IN YOGA (Hanumanasana)
Benefits, How to Instructions, Modifications, and Common Alignment Mistakes for Monkey Pose

Monkey Pose (Sanskrit name: Hanumanasana) is named for the Hindu god Hanuman, who, legend has it, is the son of the wind (Vayu) and a vanara (monkey) woman named Anjana (think Anjaneyasana, or Low Lunge Pose). As such, he is heralded as a hero whose bravery and strength encompass both the physical and the spiritual worlds.
In the Ramayana, Hanuman plays a key role in reuniting Sita and Rama, by leaping the great distance between the Southern tip of India and Sri Lanka, the country where Sita was held captive. It is his great leaps, with one leg forward and one behind, that this yoga pose embodies.
When practicing Hanumanasana, the hip extensors (the hamstrings and glutes), as well as the hip flexors (iliopsoas), are put into positions of maximum stretch. In order to practice this yoga posture safely, it’s important to warm up sufficiently. Props for support and a dose of humility are also key ingredients to successfully including this pose in your asana practice. Take a look at the Yoga 2.0 content for ideas on how to prepare for and modify Hanumansana.
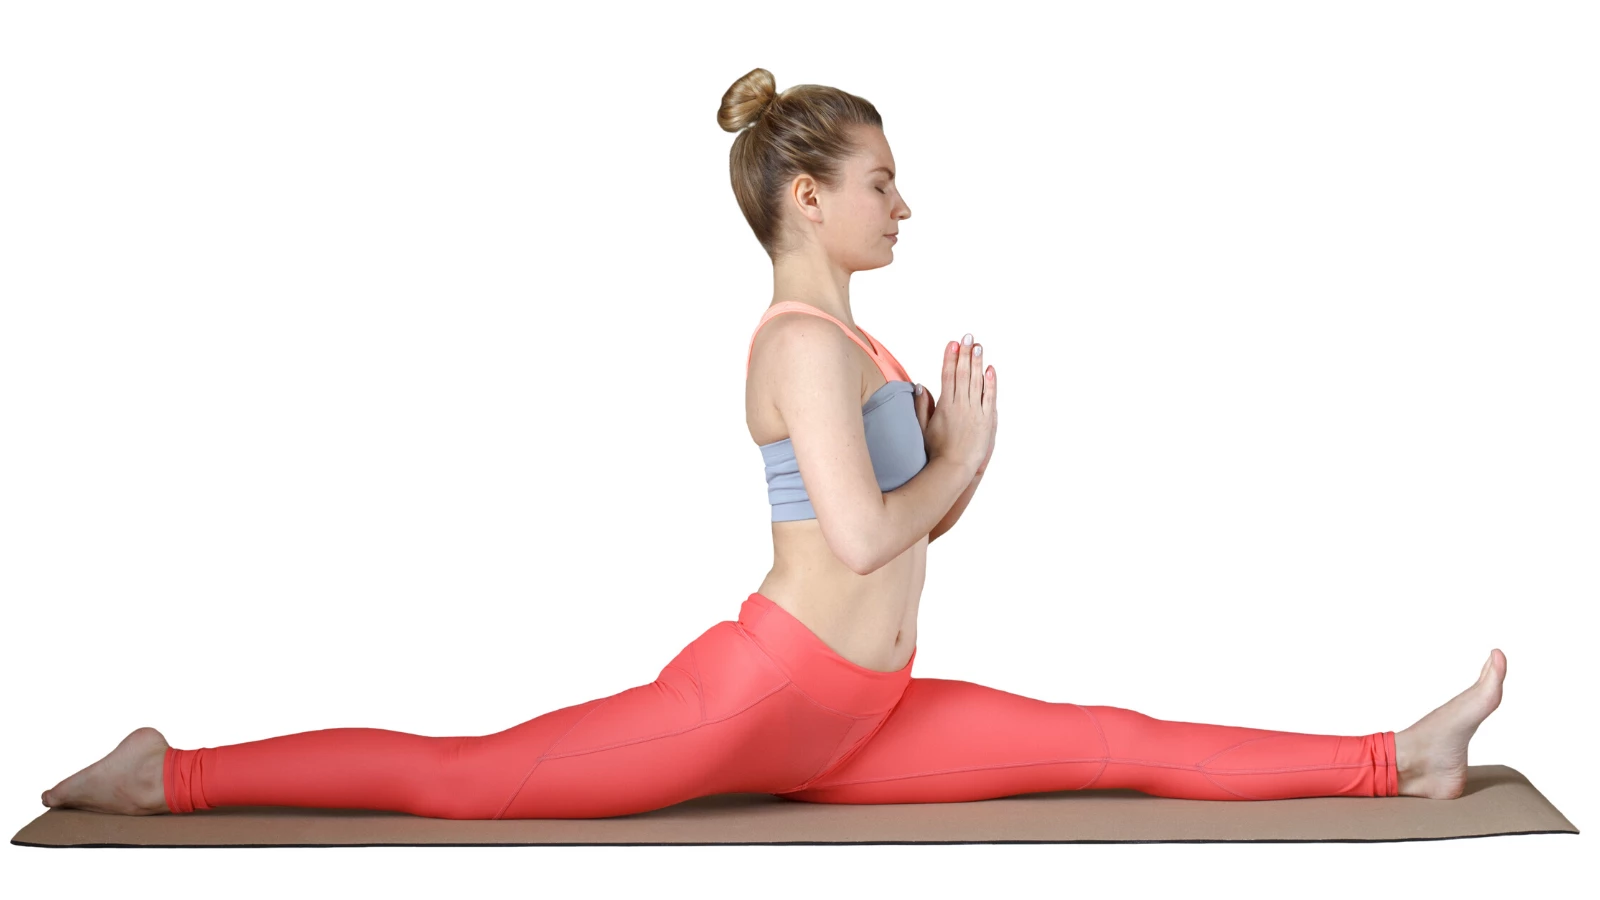
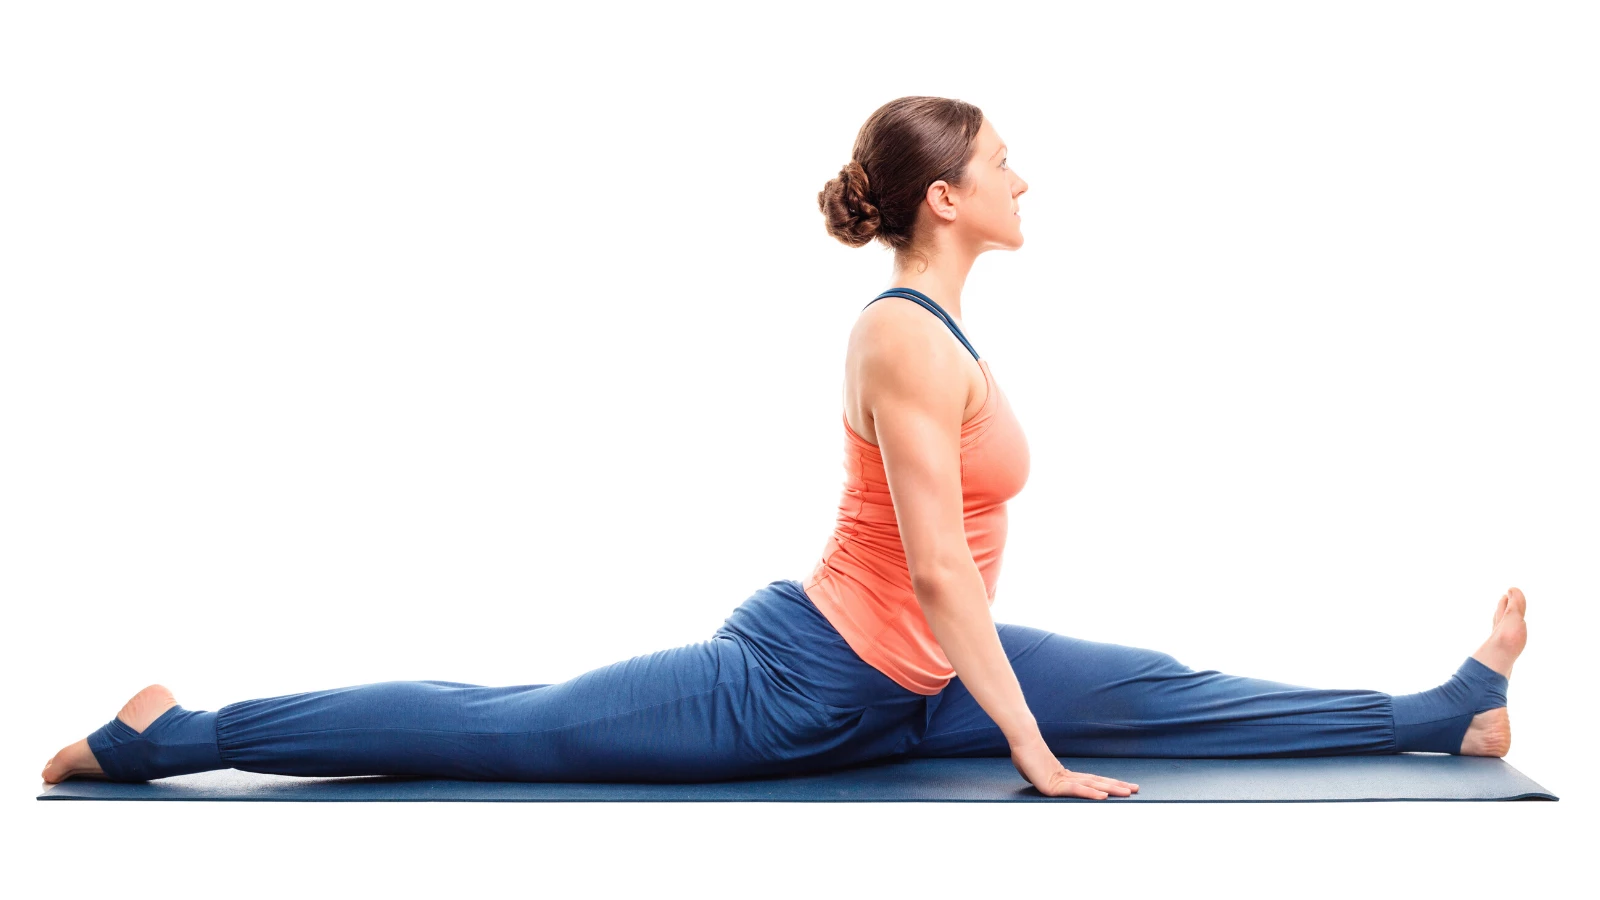
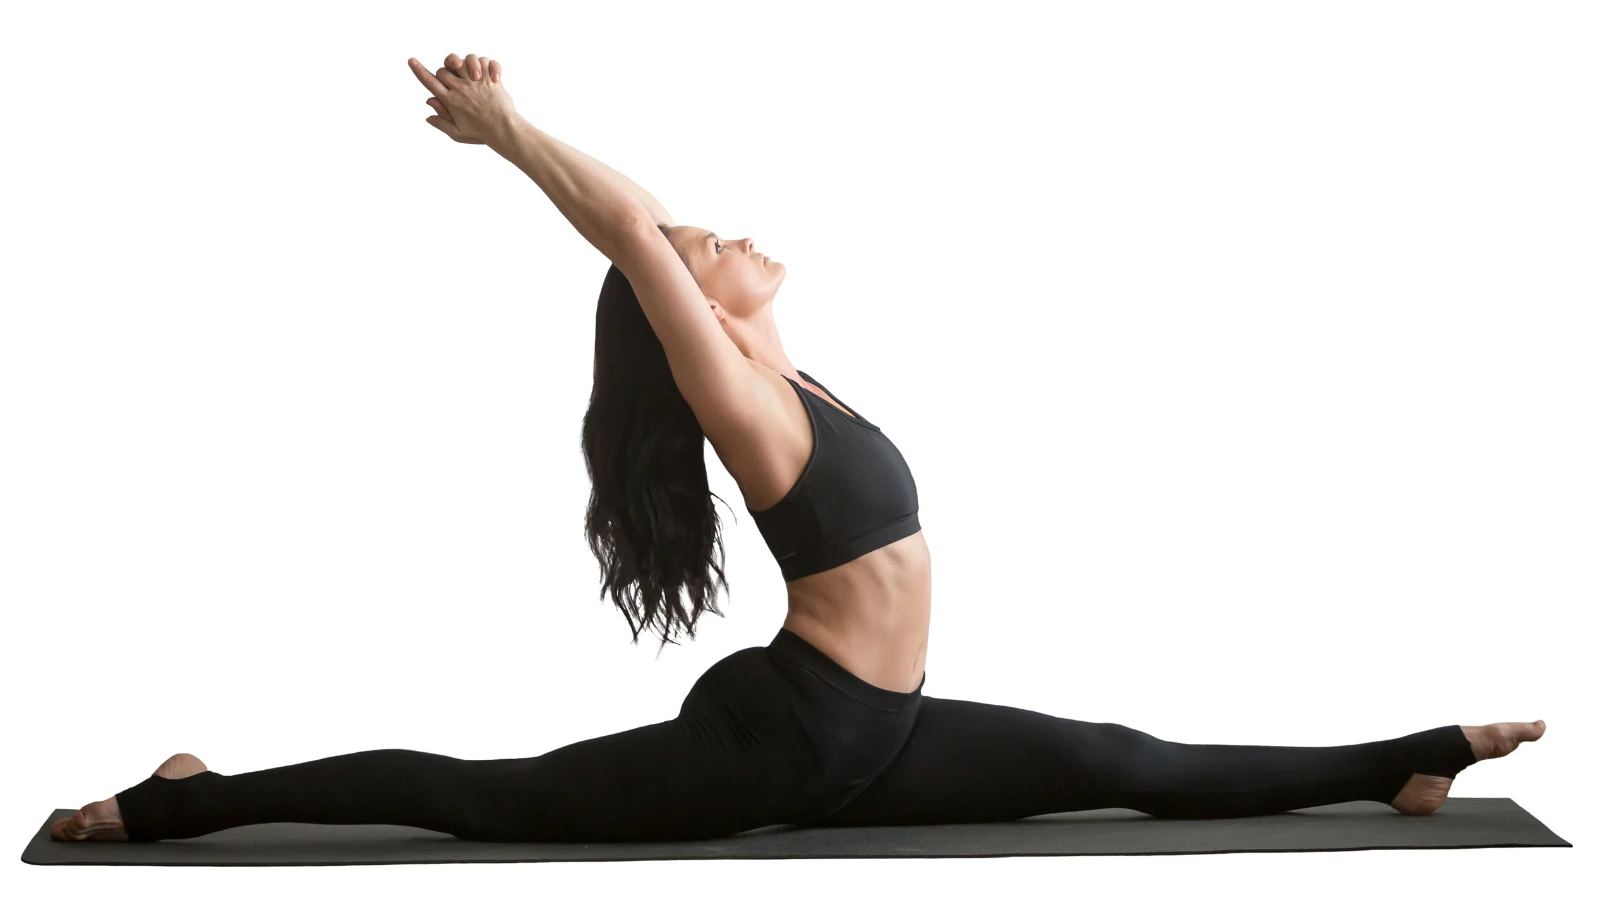
Monkey Pose is one of the more challenging and intimidating yoga poses. Outside of yoga, this posture is simply referred to as “the splits.” It’s hard not to be impressed by the brave soul who busts out a spontaneous drop into the splits on the dance floor—impressive and awe-inspiring, but not always a smart yoga strategy!
Instead of feeling frustrated or giving up entirely when you don’t immediately drop in to the perfect split, we suggest examining your goals and reason for practicing asanas in the first place. If your only goal is to perfectly execute yoga postures, we suggest taking a more yogic approach to your practice: Set goals that have more to do with growing a relationship with yourself. Listen to your body’s guidance rather than forcing your body into positions it isn’t prepared for.
Benefits of Monkey Pose

The legs may seem to be the star, but to execute Monkey Pose well, you’ll need to engage all the major muscle groups. On the upper body, the spinal extensors will be fully engaged to keep you upright. The serratus anterior, upper trapezius, rhomboids, lats, and pectoralis muscles will also be active.
Depending on the arm variation you choose, the muscles of the shoulder girdle and rotator cuff, as well as the deltoid muscles will also be engaged. With one hip in full flexion and the other in full extension, Monkey Pose requires a contribution from virtually all the muscles of the lower limbs including the hamstrings, groins, hip flexors and extensors, quads, adductors, gastrocnemius, soleus, and more.
Practicing Hanumanasana opens the hips in a profound way. To practice safely, we recommend using plenty of support, including yoga blocks, bolsters, and blankets. The unsupported version of this yoga pose could potentially cause either injury or long-term wear and tear to the hip and sacroiliac (SI) joints.
Practicing any version of Hanumanasana can be stimulating, lifting energy levels, mood, and mindset.
Basic Monkey Pose

Props: Two blankets, two blocks
- Start in a kneeling position without a sticky yoga mat.
- Place a blanket under your left knee.
- Step your right forward into a lunge position.
- Place the second blanket under your front foot.
- Place blocks, at their maximum height, beside your pelvis. Place your hands on the blocks.
- Gradually extend your front leg (sliding the blanket forward along with your foot) into Ardha Hanumanasana (Half Split).
- From here, gently start to press your left knee backward, sliding the blanket back behind you, along with your knee.
- Do not try to square your hips in this position. When one hip is in extreme flexion and the other is in extreme extension, squaring the hips places uneven pressure on the SI joint. It can also cause the femur head of your back leg to press into the front of your hip socket, which can wear down the cartilage and possibly damage your labrum.
- Keep extending your legs away from each other, toward Hanumansana, until you feel a moderate stretch in the back of your front leg and/or the hip flexors of your back leg.
- Continue supporting your hands on yoga blocks. If your right hip is within five to six inches from the floor, you can place a block or bolster underneath it for support.
- Hold for several breaths before returning to a kneeling position.
- Repeat on the second side.


