Carpal Tunnel Syndrome: A Yoga Sequence to Soothe Sore Wrists

There might not be any body parts that we consciously use more than the hands, wrists, and arms. That can make Carpal Tunnel Syndrome (CTS)—to put it bluntly—a real drag. In short, CTS causes pain, numbness, tingling, and reduced functioning in the hands (particularly in the middle finger, index finger, and thumb) resulting from pinching of the median nerve in the carpal tunnel, located in the wrist. Yet there can be a lot more to the picture. For example, conditions such as arthritis and diabetes can increase the risk of CTS. Women, because of smaller carpal tunnels, are more prone to it than men.
CTS most often results from overuse and misalignments that can cause muscles to become tight, and sometimes irritated and inflamed (read: swollen). These tight, fed-up muscles are most often in the hands and wrists. The condition often results from repetitive activities such as knitting, assembly line work, massage work, and continuous typing. Yet CTS symptoms (numbness, tingling, pain, reduced functioning) in the hands and wrists could actually be coming from the median nerve being pinched anywhere along its path, for example, under the collarbone or at the elbow.
In other cases, weakness or tightness in the muscles of the trunk can lead one to unconsciously use muscles of the hands and arms to perform actions that those trunk muscles once did—and are meant to do (an unconscious habit known as “compensation”). Simply put, the muscles closer to the center of the body are meant for strength while the muscles closer to the extremities are meant for dexterity (executing more refined tasks). Asking muscles made for dexterous tasks to do tasks requiring strength can cause them to become tight, irritable, and inflamed. And—you guessed it—this can cause CTS. All in all, it seems clear that CTS can be something related to the whole body rather than just the hands, arms, and wrists.
Can Yoga Help Alleviate Carpal Tunnel Syndrome Symptoms?
Given that, can yoga help? A study published in the renowned Journal of the American Medical Association (JAMA) found that yoga asana can ease CTS symptoms in a group of participants experiencing the condition. A caveat: the poses that study participants practiced did not call on their wrists to bear weight. While using props and other approaches can reduce pressure on the wrists in conventional asana practice, it’s better to play it safe when it comes to conditions like CTS (where there’s potential to further aggravate the affected area and thus exacerbate, rather than calm, symptoms).
The following sequence is designed to help ease CTS symptoms. It can be done in five to ten minutes and in a small space. As always, practice yoga with the permission of a doctor, particularly when doing so to address concrete conditions. Happy practicing!
A Yoga Sequence to Relieve Symptoms of Carpal Tunnel Syndrome
Extremities Movements and Stretching

- Roll your wrists in circles five to ten times, and then do the same in the other direction.
- Do the same with the forearms, spinning from the elbows. Just make sure that you have enough space at your sides!
- Roll your shoulders in big, luscious circles five to ten times in each direction. Think of a rolling tumbleweed, or laundry going around in a dryer.
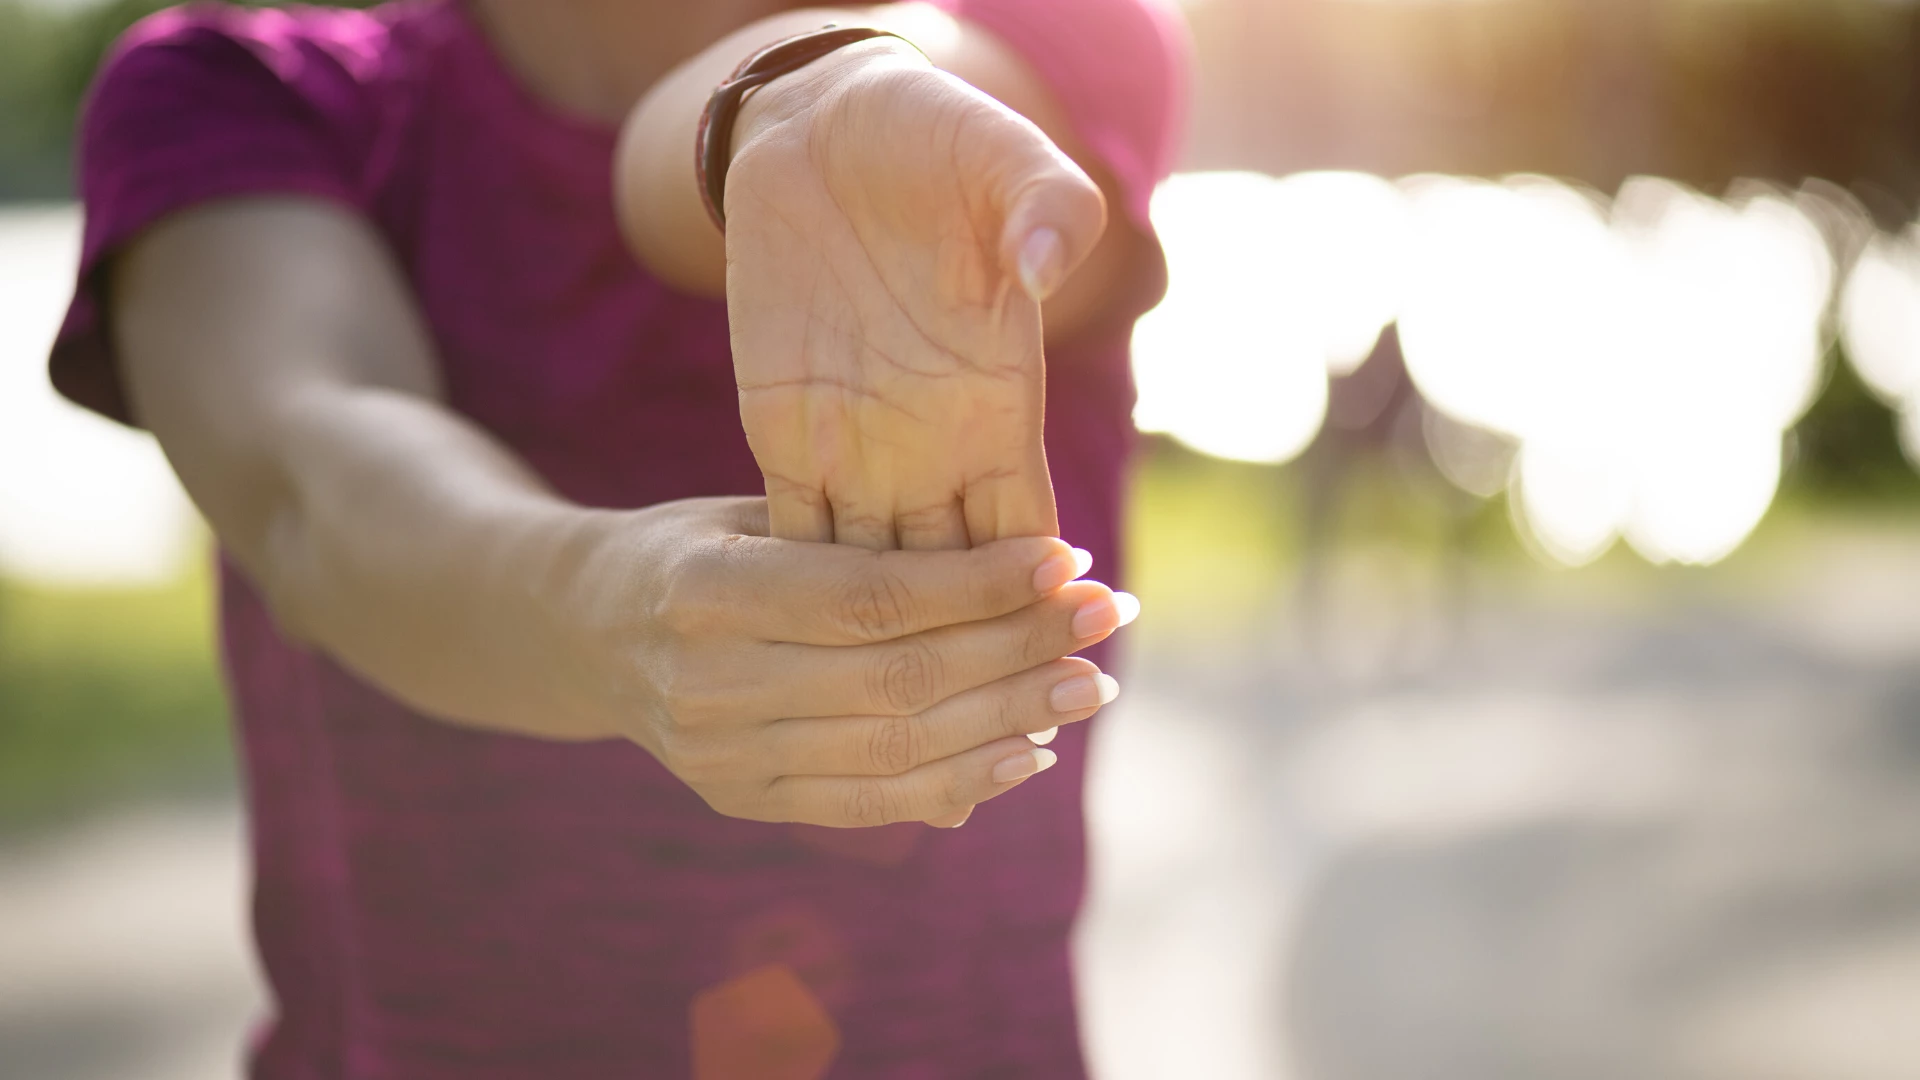
- Extend one arm out in front of you, fingers to the sky, as if signaling “stop!” Then take your other palm to that hand’s palm, but with fingers facing downward (so one hand’s fingers are pointing up and the other hand’s are pointing down). Pull back slightly and gently with the top arm, until you feel a gentle stretch in the bottom arm, wrist, or hand. You’ll feel it where you’re tightest.
- Hold that for 5 to 10 breaths. Release, and gently shake out your hands and wrists. Repeat on the other side.
Standing Side Bends and Twists

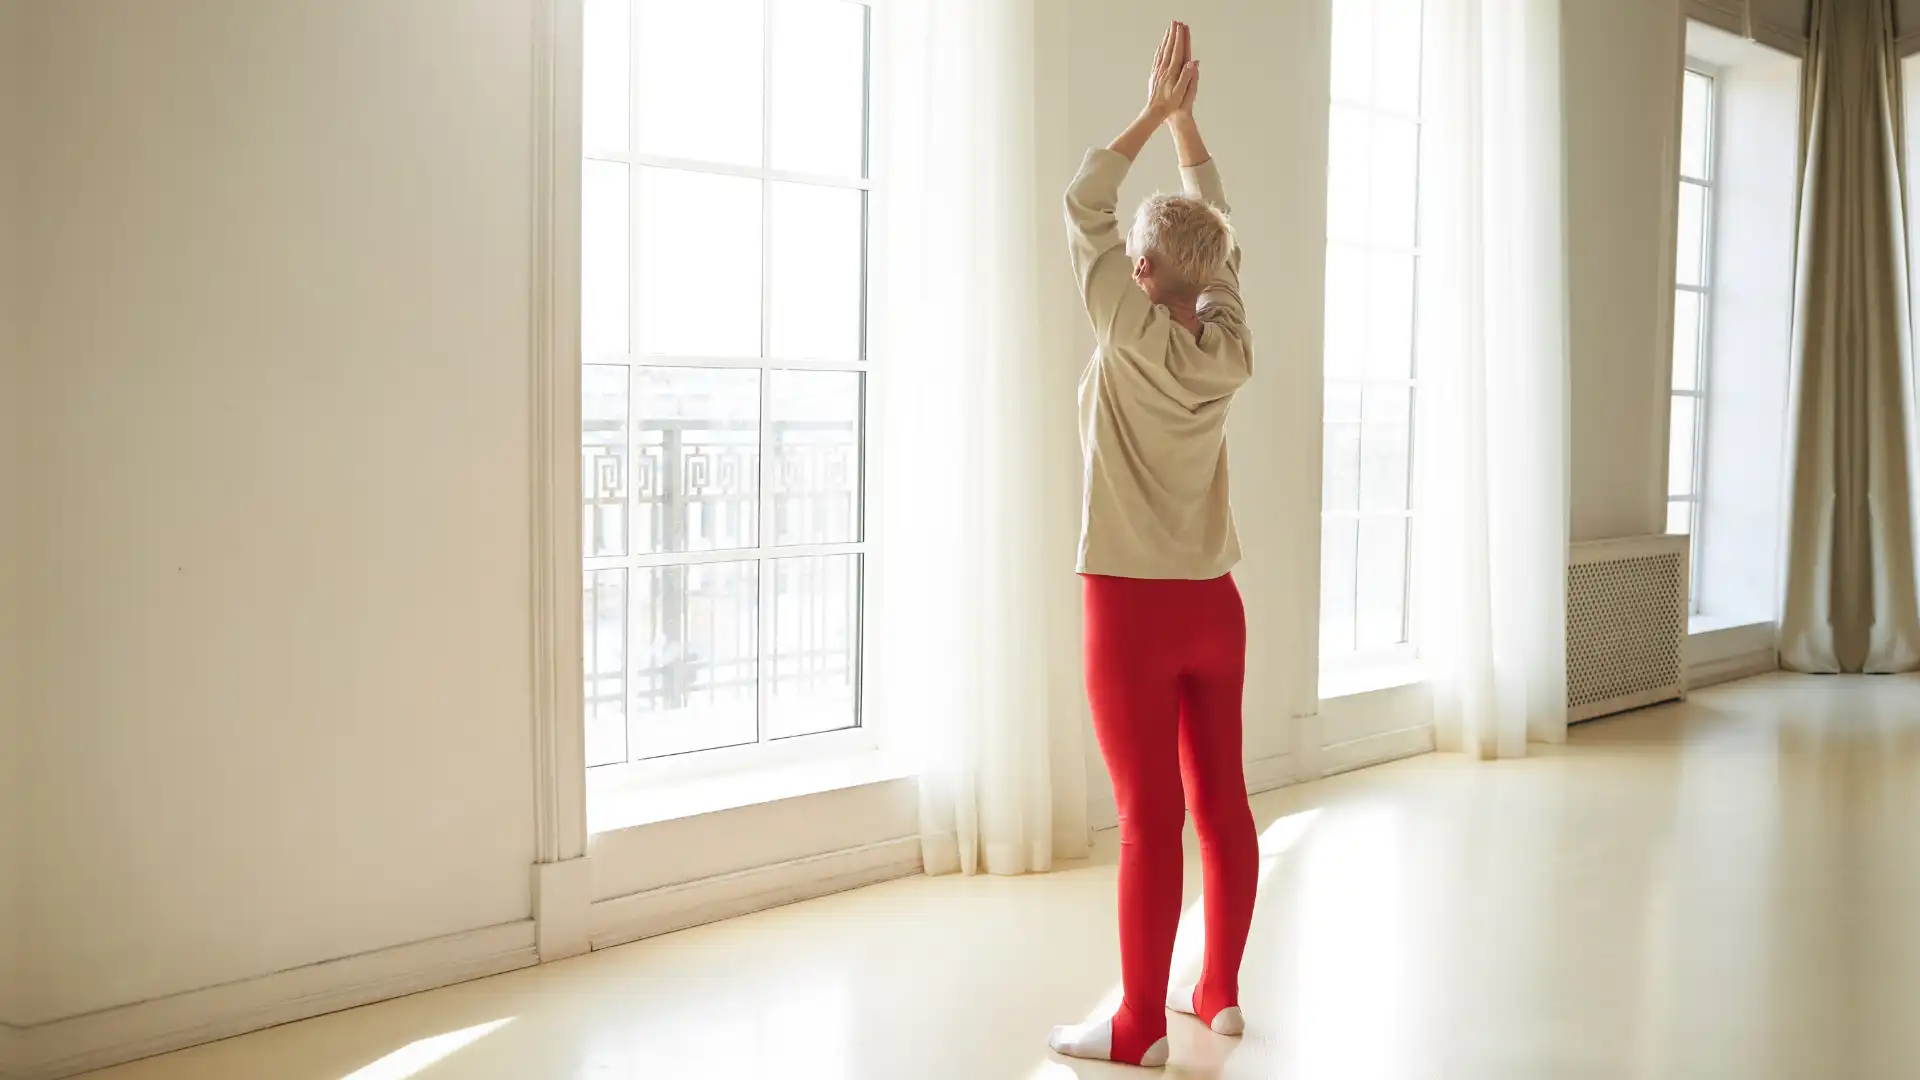
- Reach up to the sky, palms facing each other, but with the triceps wrapping backward. This is Urdhva Hastasana (Upward Hands Pose).
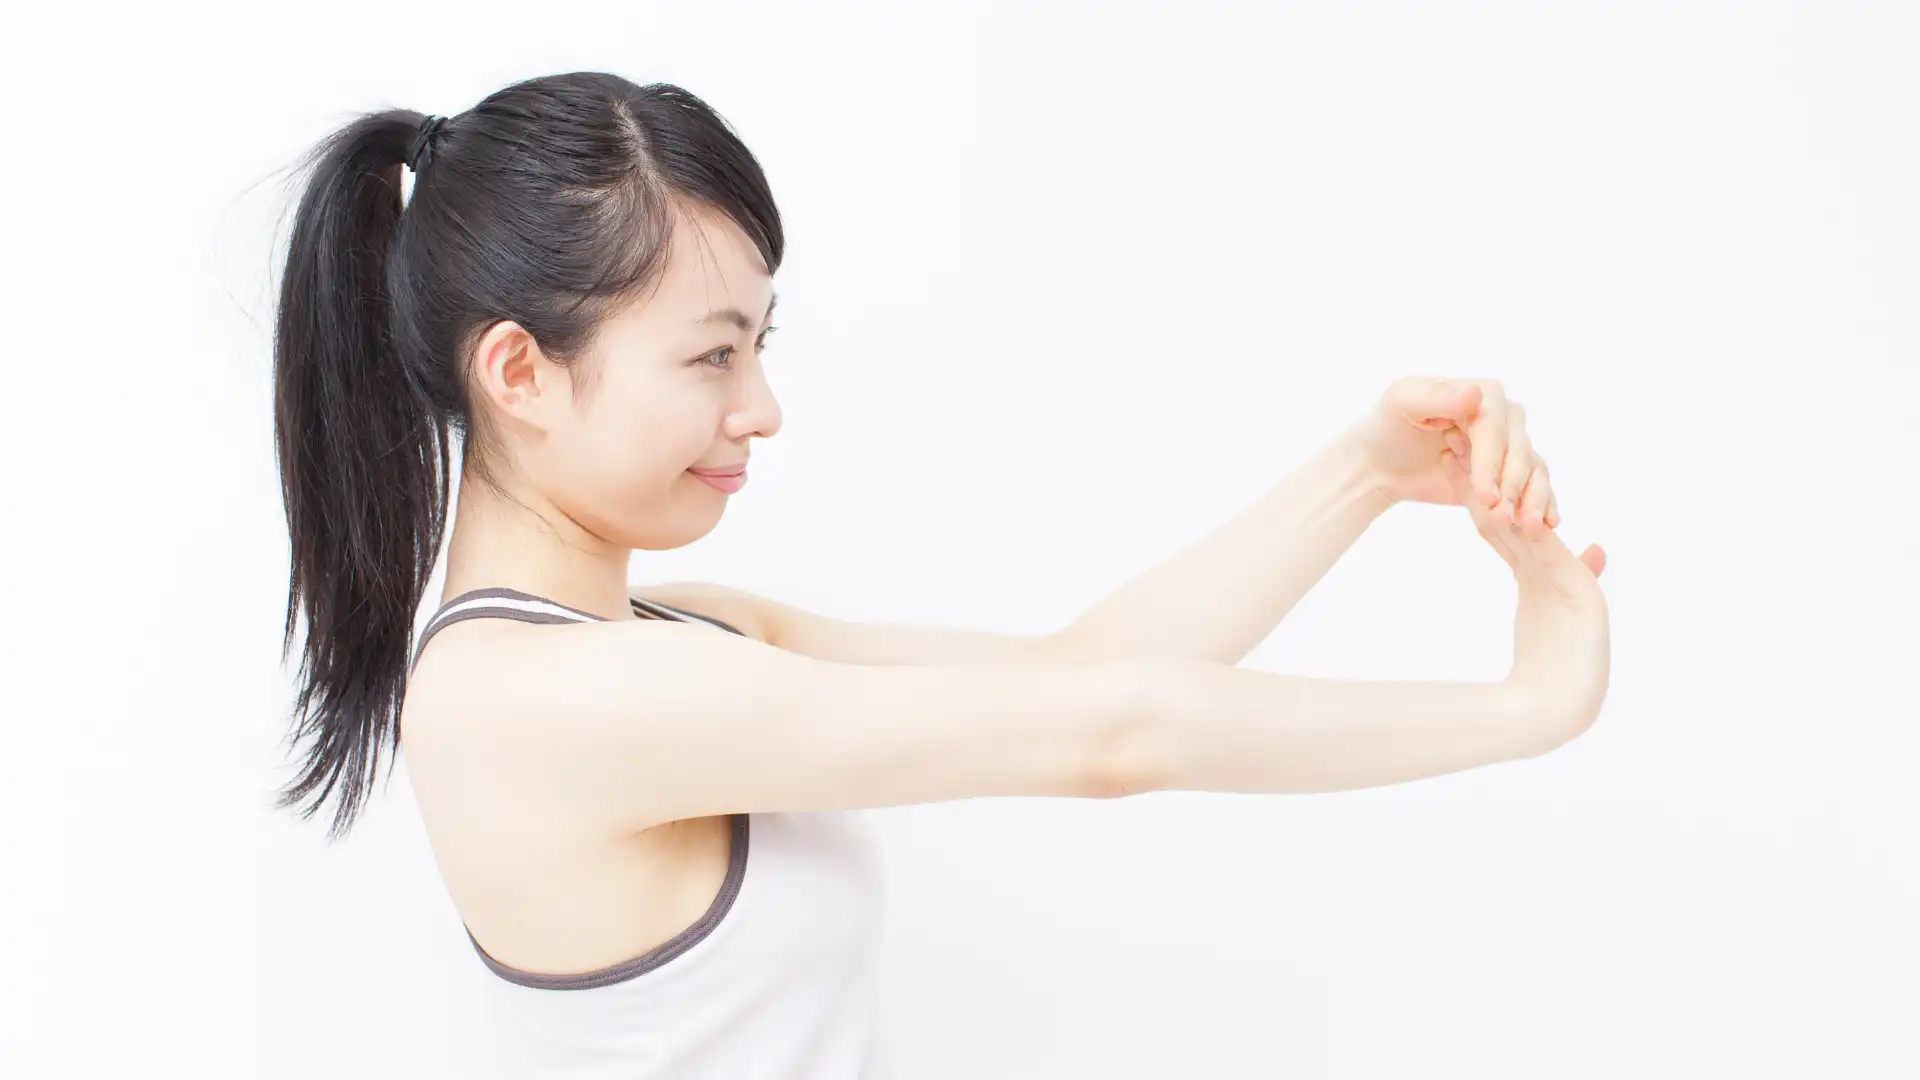
- Interlace your fingers and face your palms to the sky. Breathe into this stretch for 5 to 10 breaths.
- On a breath in, ground your feet and lengthen up just a bit more through your spine. On a breath out, side bend to your right, making sure to keep the right side of your body as long as possible. Stay grounded in your left foot.
- Hold for 5 to 10 breaths, and then lift up through your spine and do the same to the left.
- Come back to the center. Twist to the right, still holding the interlace for a few breaths.
- Then let the interlace go, your left arm reaching forward and your right arm reaching backward. As you breathe in, grow a bit taller through your spine. As you breathe out, see if you can twist just ever so slightly more, thus adding more length and more twist with each breath.
- Hold this twist for 5 to 10 breaths. Then come back to Urdhva Hastasana and practice the same twisting sequence to the left.
Heart Lift and Lower (Forward Fold)

- With your arms resting at your sides, reach your heart up to the sky. Think of making your spine like a candy cane as much as possible, straight most of the way, and curved at the top.
- After a few breaths, bring your spine back up to center. Take a couple of more breaths to re-center.
- With hands on your hips, hinge forward from the hip creases, slightly bending your knees and ankles. Lead with the crown of your head and engage your core as you descend.
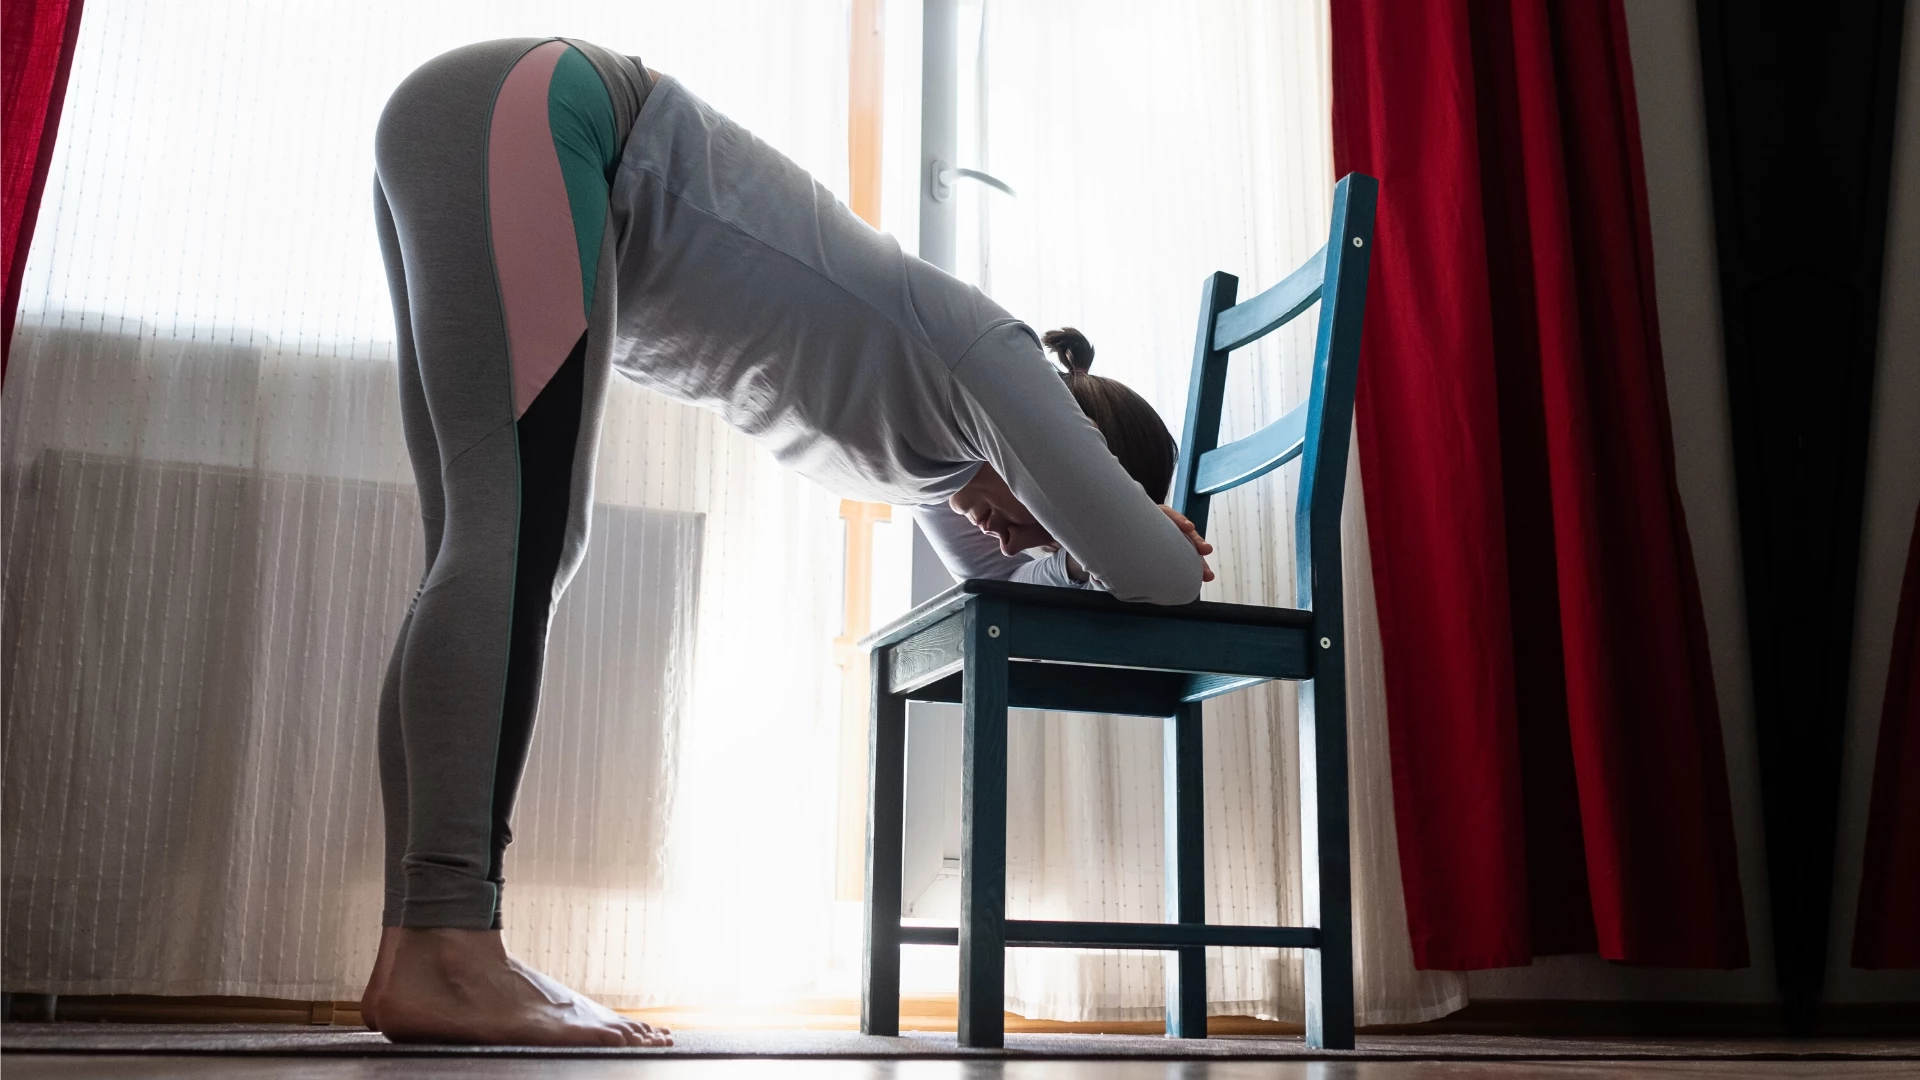
- Once you reach a comfortable forward bend with your knees bent, hold opposite elbows, taking “Ragdoll Pose” for 5 to 10 breaths (or support your torso on a yoga prop, such as a chair, as pictured above.) Notice where you might be holding tension, and try to release it.
- Release your hands to the floor, dropping the hold on your elbows. Take Pada Hastasana (Hands-Under-Feet Pose) by pointing your fingers back toward your heels and then stepping onto your palms with your toes touching your wrist creases. Make sure to keep the bend in your ankles and knees. In fact, you will probably need to increase those bends.
- Relax here for 5 to 10 breaths and then release your hands from under your feet. Take any other movements that feel good here for 5 to 10 breaths.
- Come back up to standing the same way you descended—hands on hips, core engaged, and crown of the head leading forward. Take any movements or stretches that call to you.
- Take a mindful moment, perhaps closing your eyes (if comfortable for you) and noticing how you feel.
Also, read...
Flat Feet Exercises: How Yoga Can Help
Enhancing Body Awareness: 5 Ways to Nurture Your Neck In Your Yoga Practice
Understanding Your Sciatic Nerve Pain and How Yoga Might Help
Related courses
Journey to Center: A Yoga Guide to Unlock the Full Potential of Your Core
Yoga for Healthy Hips: Principles for a Safe Practice
The Essential Trinity of the Body: The Role of the 3 Diaphragms
Need an Energy Makeover? How Yoga Can Help You Boost Vitality

Kathryn Boland is an RCYT and R-DMT (Registered Dance/Movement Therapist). She is originally from Rhode Island, attended The George Washington University (Washington, DC) for an undergraduate degree in Dance (where she first encountered yoga), and Lesley University for an MA in Clinical Mental Health Counseling, Expressive Therapies: Dance/Movement Therapy. She has taught yoga to diverse populations in varied locations. As a dancer, she has always loved to keep moving and flowing in practicing more active Vinyasa-style forms. Her interests have recently evolved to include Yin and therapeutic yoga, and aligning those forms with Laban Movement Analysis to serve the needs of various groups (such as Alzheimer’s Disease patients, children diagnosed with ADHD, PTSD-afflicted veterans – all of which are demographically expanding). She believes in finding the opportunity within every adversity, and doing all that she can to help others live with a bit more breath and flow!


