Learn to “Levitate”: 4 Yoga Poses to Prepare Your Body for Arm Balances

Arm balances are everyone’s favorite party trick. And to be fair, they’re pretty magical. You’re balancing on your hands with your feet levitating off the floor. They look super impressive, and they’re fun to play around with. But more importantly, they challenge us in new ways that we don’t often encounter in our sitting-centered worlds.
In order to arm balance, we’re forced to face our fears and step out of our comfort zones. We’re challenged to try and fail and then try again. We work our bodies into new shapes and mold our minds to step up to the task. Arm balances are no easy feat, but they’re well worth the work.
But before we jump headfirst into arm balances (no pun intended!), we need to master the basics that build-up to these larger poses. Like all complex postures, arm balances are a conglomerate of smaller parts. And if you add together the smaller parts step by step, then before you know it, you’re balancing on your palms with hardly any effort at all!
4 Yoga Poses to Prepare You for Practicing Arm Balances
Before you even attempt arm balances, master these “simpler” poses first:
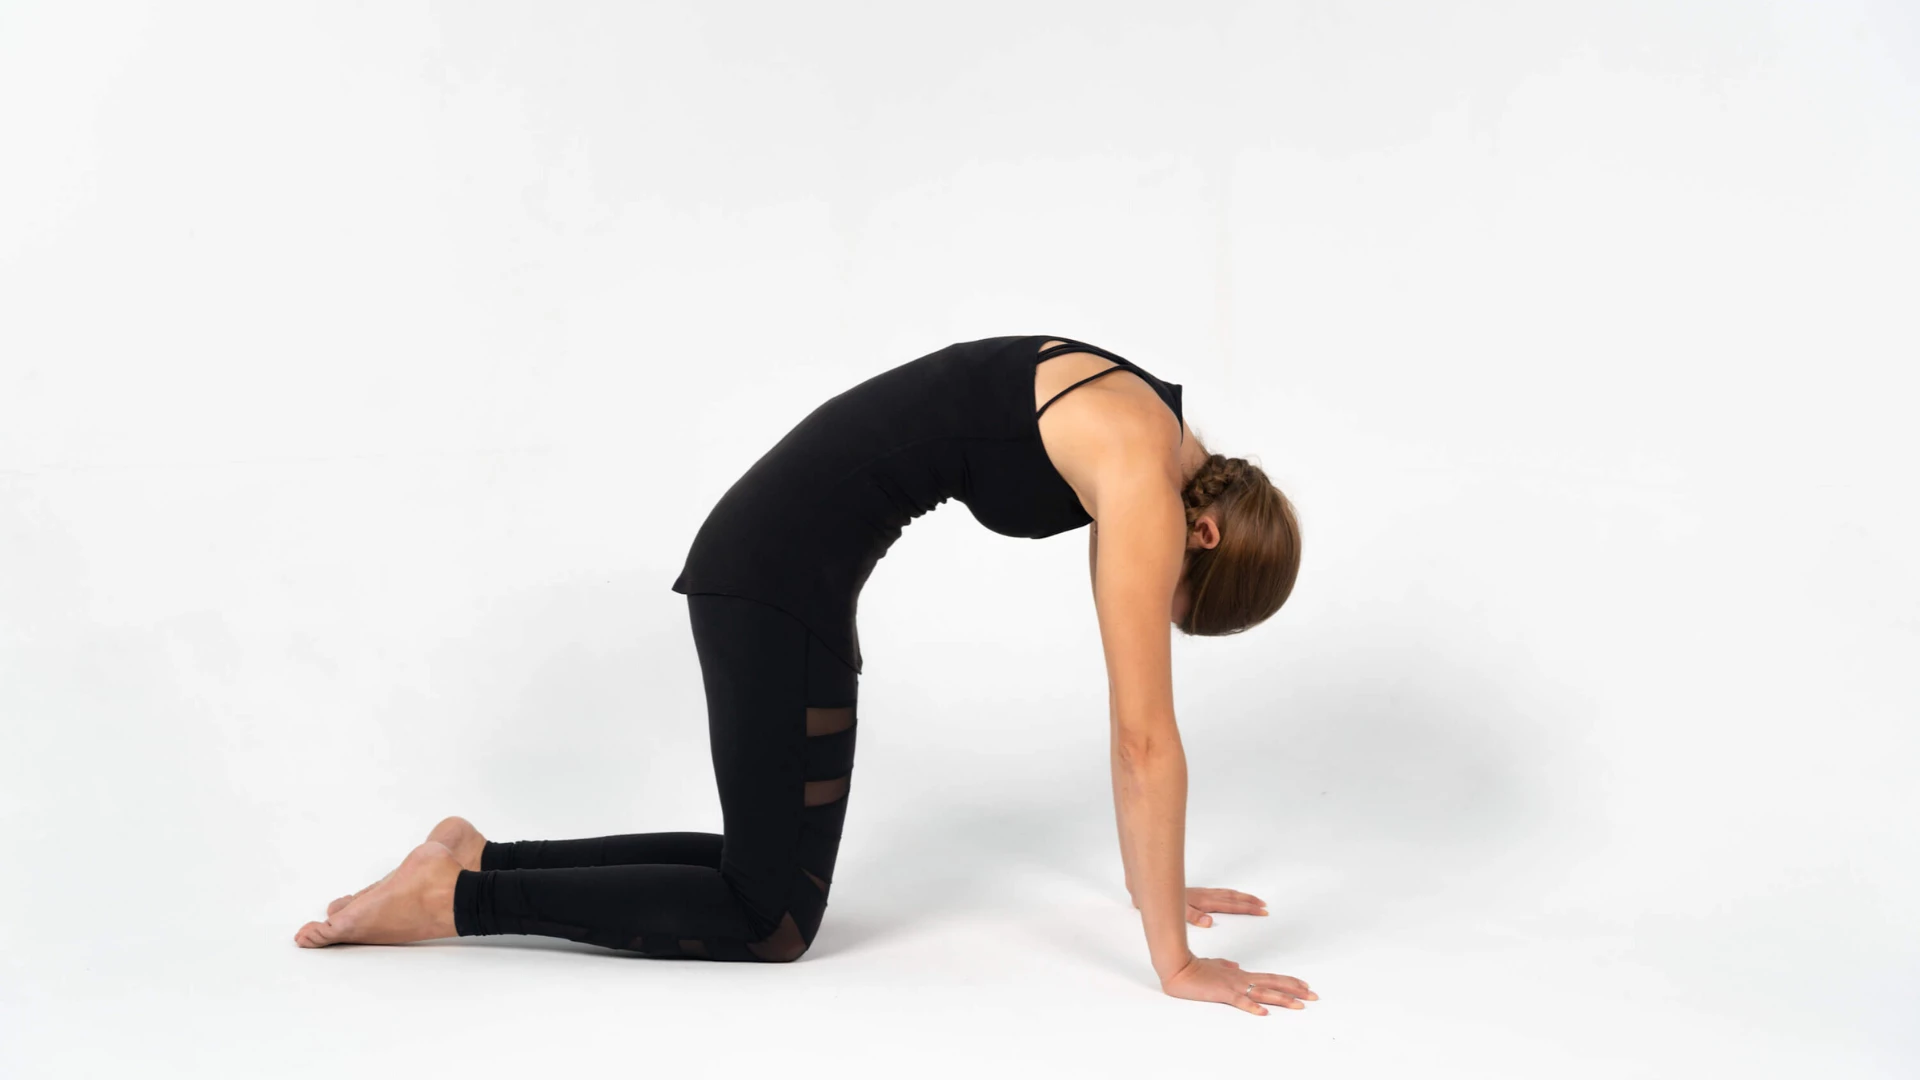
1. Marjaryasana (Cat Pose)

Cat Pose strengthens the muscles needed to round the spine (the abdominals), which is crucial for the foundational arm balance, Kakasana (Crow Pose), and so many other arm balances. So it’s essential to master this movement so that you can utilize this same shape later when arm balancing.
- Start in Bharmanasana (Tabletop Pose) with your shoulders stacked over your wrists and your hips stacked over your knees.
- Spread your fingers wide and space them evenly apart.
- Take a full, deep breath in.
- As you exhale, three-dimensionally cinch your waistline as if tightening a corset. Then actively press the floor away from you with your hands to round your spine.
- Draw your navel in toward your back body and glide your shoulder blades apart from each other.
- Relax the weight of your head and maybe even look toward your navel.
- Without moving, isometrically draw your hands and your knees apart from each other.
- Hold for about ten deep breaths and place this shape into your muscle memory.
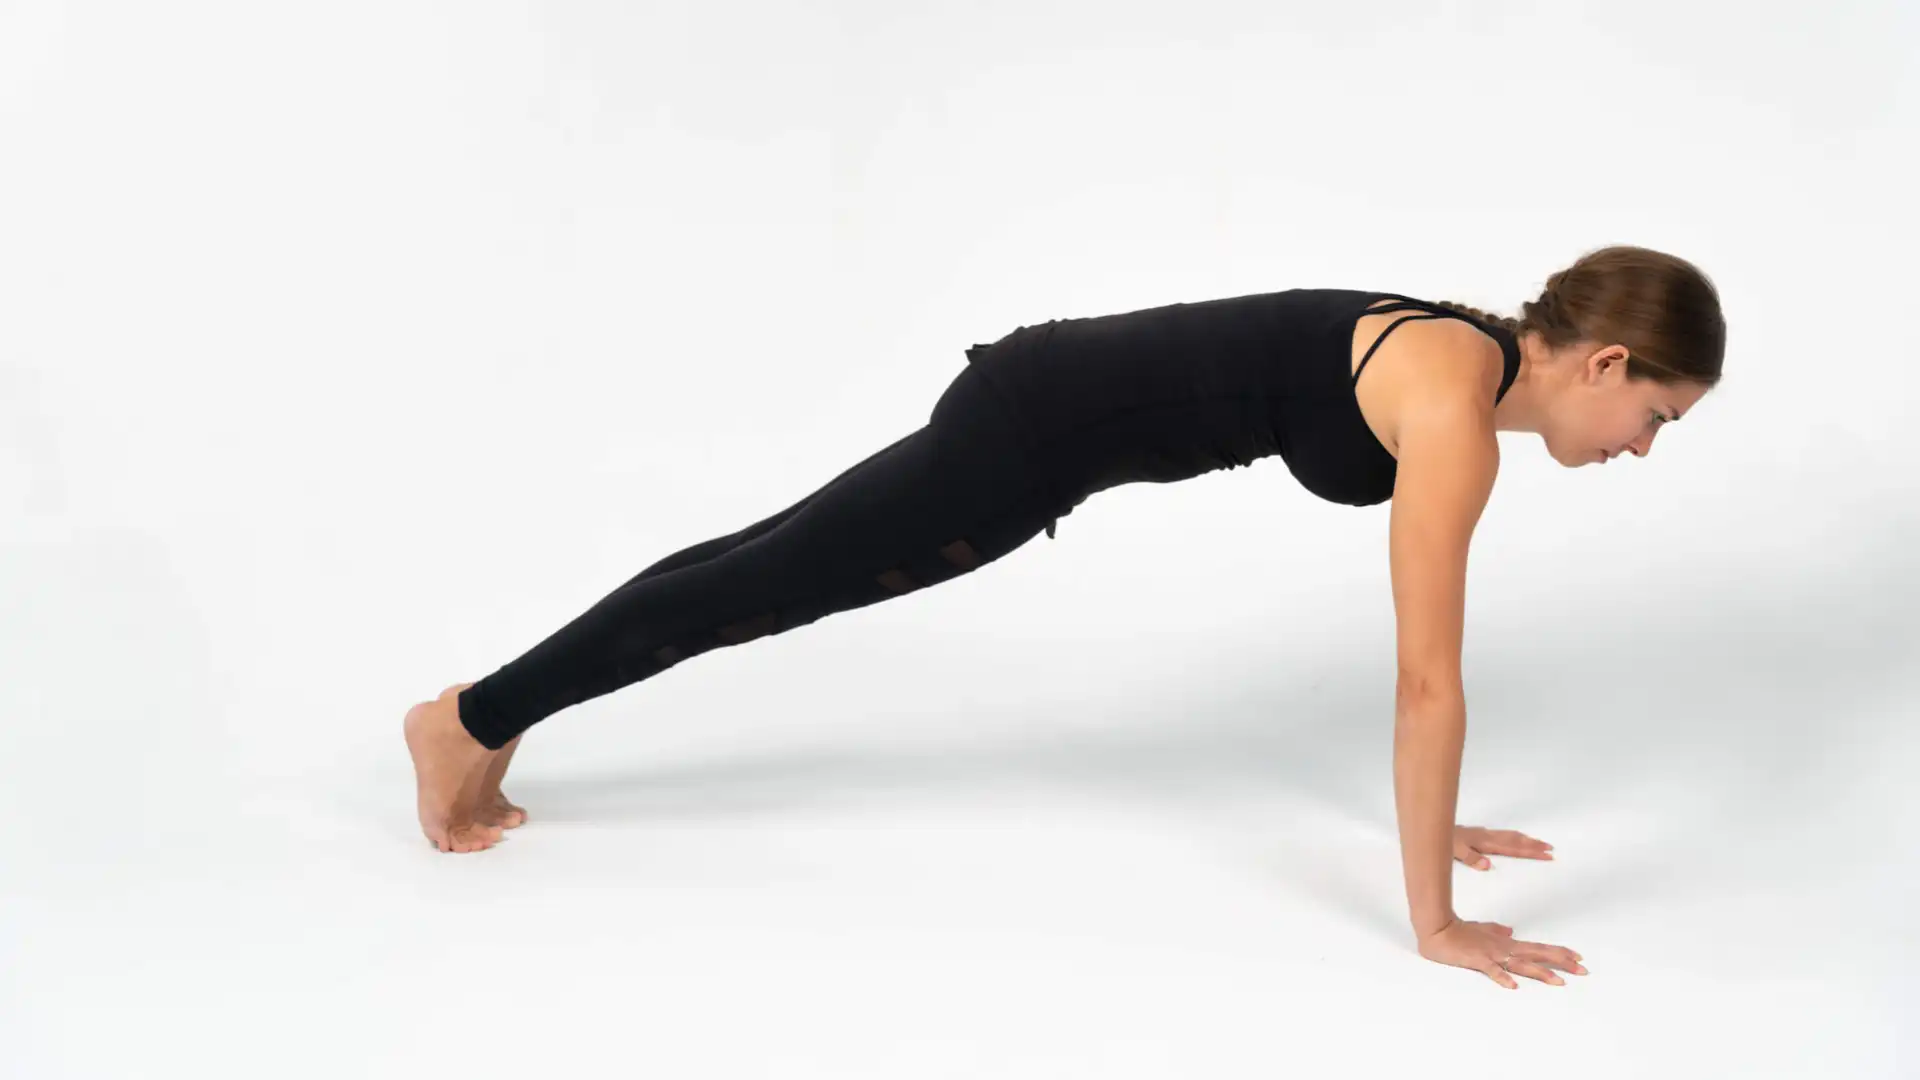
2. Phalakasana (Plank Pose)

Another foundational pose, Plank Pose, can be considered an arm-balancing posture, although you still have the support of your legs in this shape as well. This strength-building pose helps you to build awareness in the musculature needed for arm balancing, particularly the shoulders, arms, and core.
- Start in Adho Mukha Svanasana (Downward Facing Dog Pose) with your fingers spread wide and evenly spaced apart.
- Corset your waistline.
- Inhale and roll your weight forward to align your shoulders over your wrists and lower your pelvis so that your body is in a straight line from head to heels.
- Actively press the mat away from you and ever so slightly round your upper back by drawing your shoulder blades apart from each other.
- Stretch the crown of your head forward and lengthen your tailbone behind you.
 Scoop your navel in and up and create a long line of energy from your head down to your toes.
- Kick back firmly through your heels and energetically hug your legs into the midline of your body.
- Hold for about ten deep breaths.
- Wrist Pain Modification: If you suffer from wrist pain, try practicing Forearm Plank instead (pictured to the right).
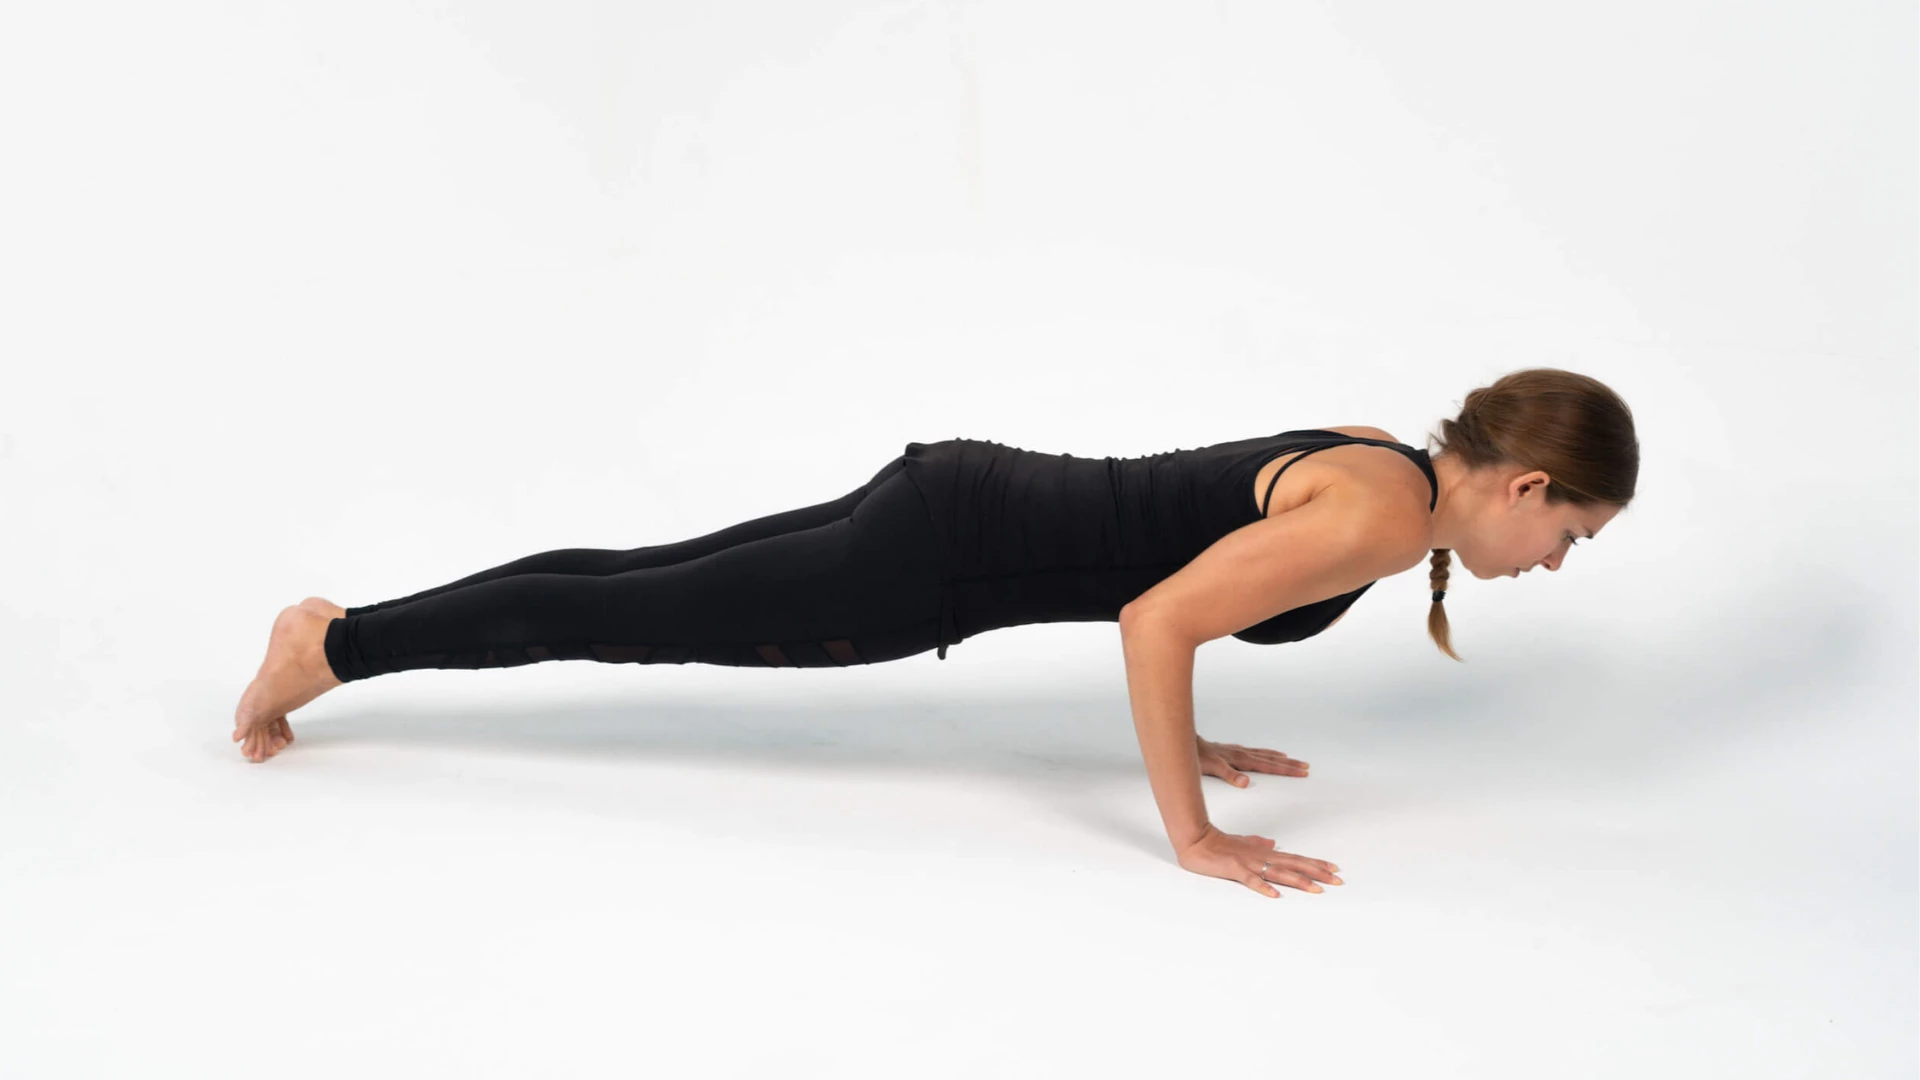
3. Chaturanga Dandasana (Four-Limbed Staff Pose)

The illustrious Chaturanga Dandasana mimics the shape of the arms in just about every single arm balance. So, of course, it’s a powerful pose to practice to prepare for arm-balancing postures.
Bear in mind that you do not need to practice “traditional” alignment and lower to the point where your elbows are at a 90-degree angle in Chaturanga. In fact, most practitioners will likely find a much higher angle works better for their personal practice.
Feel free to modify this exercise by lowering your knees to the floor.
- Start in Plank Pose with your fingers spread wide and evenly spaced apart.
- Grip at the mat with your fingertips and press firmly into the perimeter of your palms.
- Cinch in around your waistline as if tightening a corset around your whole torso.
- Inhale and shift the weight of your torso forward until your shoulders move slightly past the crease of your wrists—depending on your wrist flexibility, you may need to micro bend your elbows to access this.
- Exhale and bend your elbows toward the back of your mat, keeping them close, into your sides, to lower to a point where you still feel strong enough to press back up. Take care to keep your pelvis in line with the rest of the body. If you lower your pelvis too quickly, it will end up on the floor before you can bend your elbows into the pose. If you lift your pelvis up so that it’s higher than your shoulders, you will lose the core-strengthening qualities of the pose.
- Take a few deep breaths.
- Gather your core and press the floor away to lift back up into Full Plank Pose.
- Continue these actions for about five repetitions.
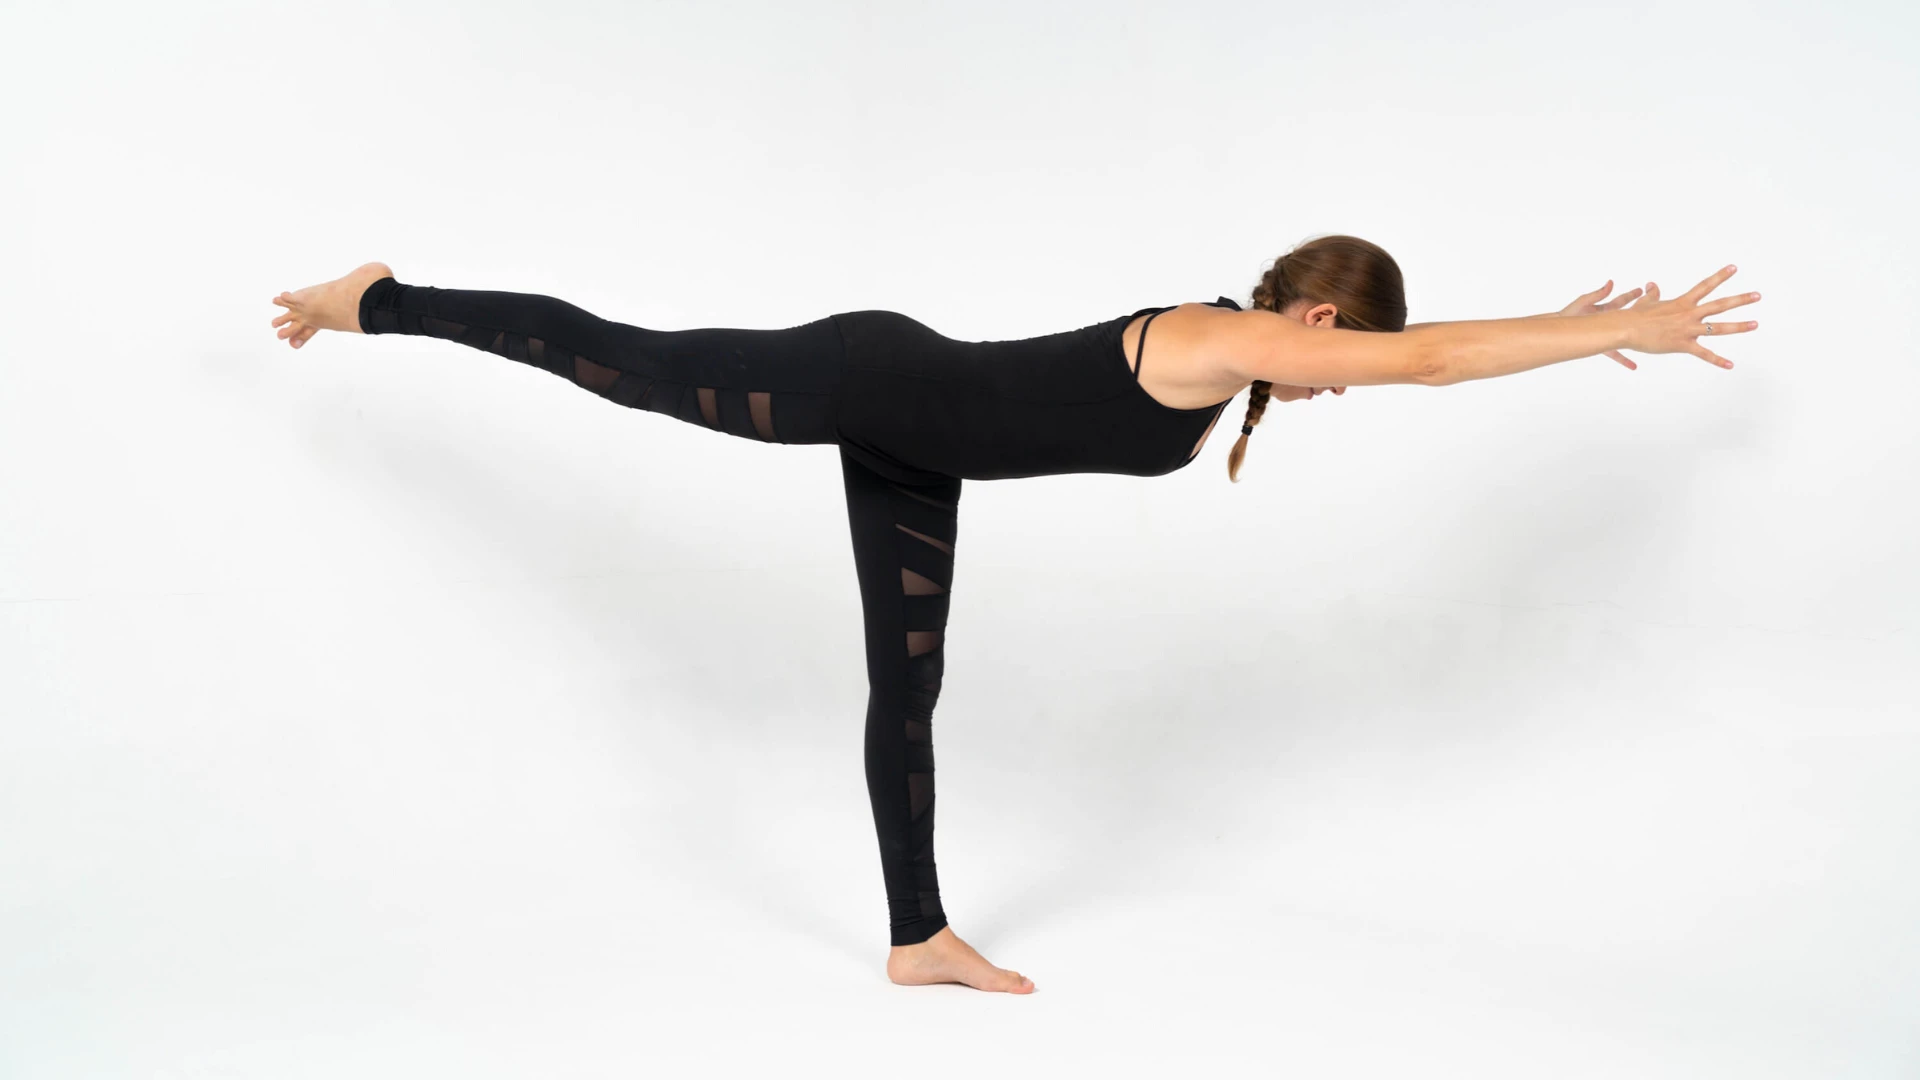
4. Virabhadrasana III (Warrior III Pose)

Most people believe that arm balances are all about brute strength. And while strength is, of course, necessary, the real secret of arm balances is actually counterbalancing. Warrior III is the perfect pose to teach the body how to manipulate and utilize counterbalance to find stability.
- Start standing in Tadasana (Mountain Pose) with your hands on your hips, and activate your core.
- Shift your weight into your left leg and lift the right leg slightly, so that the ball of the foot is resting on the floor.
- When you feel steady, lift your right foot off the floor, flex your right ankle, and press out through the ball of your right foot.
- Simultaneously shift the weight of your torso forward and kick your right leg back behind you.
- Draw your torso roughly parallel to the floor and kick back through your right foot with more force than you think you need to.
- Counterbalance this by stretching the crown of your head in the opposite direction.
- You may wish to draw your hands to your heart or stretch your arms forward in front of you, on either side of your face, to counterbalance your weight.
- Hold for about 5 to 10 deep breaths, release, and switch sides.
Never Underestimate Simplicity
Although arm balances are complex postures with many different elements to consider, they are really a collection of “simpler” poses built on top of each other.
By practicing the “basics,” you will teach your body how to initiate these movements (and muscles!) at any time—even when you’re attempting to “fly” in an arm balance. If you master the basics, the more complex will come naturally in time. Enjoy taking flight!
Also, read...
5-Step Yoga Sequencing for Shoulderstand
A Gentle Twisting Yoga Sequence to Just Feel Good
Words Matter: How to Use Empowering Language as a Yoga Teacher
Related courses
Journey to Center: A Yoga Guide to Unlock the Full Potential of Your Core
Yoga for Healthy Hips: Principles for a Safe Practice
The Essential Trinity of the Body: The Role of the 3 Diaphragms
Need an Energy Makeover? How Yoga Can Help You Boost Vitality

Leah Sugerman is a yoga teacher, writer, and passionate world traveler. An eternally grateful student, she has trained in countless schools and traditions of the practice. She teaches a fusion of the styles she has studied with a strong emphasis on breath, alignment, and anatomical integrity. Leah teaches workshops, retreats, and trainings, both internationally and online. For more information, visit www.leahsugerman.com.


 Scoop your navel in and up and create a long line of energy from your head down to your toes.